
Tiamat - simple Compose Multiplatform navigation
Intro
Why do we need another navigation library? You can say: just choose one of the existing solutions.
For our project initially, we have chosen the Google Navigation Compose library. It was quite simple for developers who still migrated their minds to the new “Compose world”.
For some time we made a wrapper around the navigation library, to simplify access to the Navigation controller from any Compose screen.

Despite various improvements in navigation, we had a lot of critical moments that did not satisfy us:
- Navigation using
Stringkey - A difficult way to pass data between screens
- Navigation only over
replace
We have experimented with some other libraries:
- Voyager — it doesn’t update very often (recently got status 1.0), no possibility to pass lambda as a parameter (issue)
- Decompose — a too complex framework for our project. By the way, I use it on personal projects and recommend to try 🌚
- other solutions overengeenered (by our opinion)
Our requirements
To reach a goal, we first need to understand what we are striving for.
Here is what we expect from the navigation library:
- Compose first support + Multiplatform
- Simple API:
Screeencreation, back stack handle,add/replacemethods - Navigation using
Screeninstance without any String keys - A simple way to save State of the screen
- Pass Any data types between screens (even lambdas) and deliver the result
- Without code generation
- Without tying to any architecture or existing frameworks
Welcome Tiamat
We were so impressed with our internal library that we decided to make it open-source for Compose community.
After several months of experiments and polishing the code we fit all our requirements above.
Let’s deep dive into code examples.
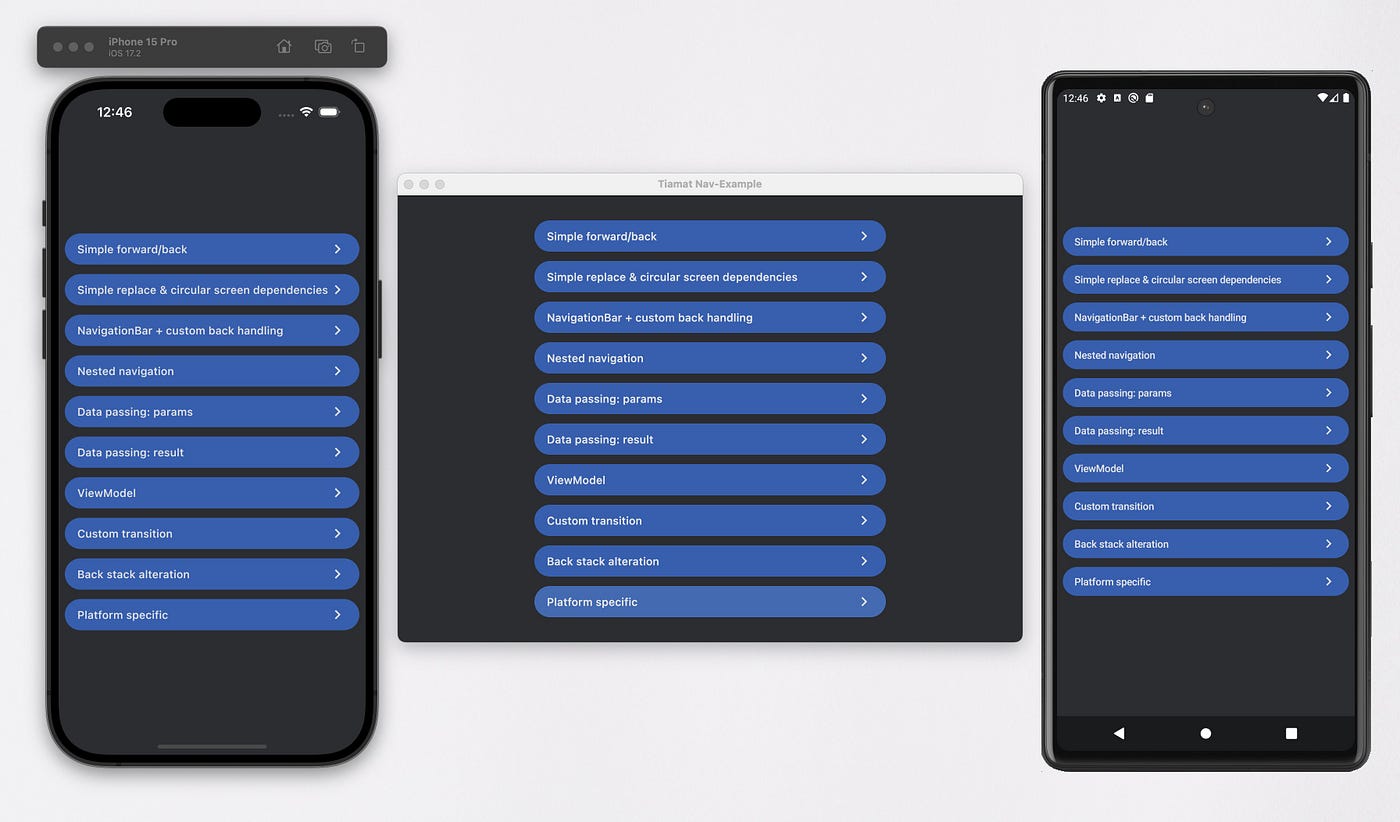
Also, we have created a demo multiplatform App to demonstrate all current features. Please checkout the repository 🌚
How to use
- Adding dependency
Android / JVM:
implementation("io.github.composegears:tiamat:$version")Multiplatform:
sourceSets {
    commonMain.dependencies {
        implementation("io.github.composegears:tiamat:$version")
    }
}
2. Define you screens using navDestination delegate
val ListScreen by navDestination<Unit> {
    // Composable content
}

val DetailScreen by navDestination<Unit> {
    // Composable content
}
3. Create navController that will responsible to all navigation stuff
val navController = rememberNavController(
    startDestination = ListScreen,
    destinations = arrayOf(
        ListScreen,
        DetailScreen,
        // ...
    )
)

Navigation(
    modifier = Modifier.fillMaxSize(),
    navController = navController
)
4. Make navigation
val ListScreen by navDestination<Unit> {
    val navController = navController()

    Column {
        Text("Screen Header")
        Button(onClick = { navController.navigate(DetailScreen)}){
            Text("Navigate")
        }
    }
}
Note:
navDestinationdelegate under the hood creates special Scope, and you can safely callnavController()and other things in your screen.
To make a replace navigation, simply use replace method in navController
val ListScreen by navDestination<Unit> {
    val navController = navController()

    Column {
        Text("Screen Header")
        Button(onClick = { navController.replace(DetailScreen)}){
            Text("Replace screen")
        }
    }
}
Passing data between screens
Let's imagine you need to pass some id or model into a detail screen. To make it we need to change DetailScreen semantics from Unit to DetailParams.
data class DetailParams(val id: String)

val ListScreen by navDestination<Unit> {
    val navController = navController()

    Column {
        Text("Screen Header")
        Button(onClick = {
            navController.navigate(
                dest = DetailScreen,
                navArgs = DetailParams(id = "314442")
            )
        }) {
            Text("Navigate")
        }
    }
}

val DetailScreen by navDestination<DetailParams> {
    val args = navArgs()

    Text(text = args.id)
}
To pass param you can use navArgs named argument
navController.navigate(
    dest = DetailScreen,
    navArgs = DetailParams(id = "314442")
)
To read args you can use navArgs() for non-nullable params or navArgsOrNull for optional screen parameters.
If you need to return some data from DetailScreen you can use navController.back() method
data class NavResult(val counter: Int)

val DetailScreen by navDestination<DetailParams> {
    val navController = navController()

    var counter by remember { mutableIntStateOf(0) }

    Column {
        Row(
            verticalAlignment = Alignment.CenterVertically,
            horizontalArrangement = Arrangement.spacedBy(8.dp)
        ) {
            CircleButton("-") { counter-- }
            Text(text = "Value: $counter")
            CircleButton("+") { counter++ }
        }
        Button(onClick = { navController.back(NavResult(counter)) }) {
            Text("Deliver result")
        }
    }
}
Nested navigation
Tiamat allows to make nested NavControllers.
For example, Login feature contains multiple screens. You can easily combine it into a separate LoginFlow and hide implementation details.
val RootFlow by navDestination<Unit> {
    val navController = rememberNavController(
        startDestination = LoginFlow,
        destinations = arrayOf(
            LoginFlow,
            MainFlow,
            // ...
        )
    )

    Navigation(navController = navController)
}

val LoginFlow by navDestination<Unit> {
    val nestedController = rememberNavController(
        startDestination = Screen1,
        destinations = arrayOf(
            Screen1,
            Screen2,
            Screen3,
            // ...
        )
    )

    Navigation(navController = nestedController)
}
ViewModel support
Library has own TiamatViewModel and provides the same experience as Androidx Viewmodel:
- saving state during configuration changes
- provides
viewModelScope
data class DetailParams(val id: String)

class DetailsViewModel(private val id: String) : TiamatViewModel() {
    // ...
}

val DetailScreen by navDestination<DetailParams> {
    val navController = navController()
    val args = navArgs()

    val viewModel = rememberViewModel { DetailsViewModel(args.id) }
    // ...
}
In this sample we can easily pass argument from navArgs into our ViewModel and do smth with it.
Note:
rememberViewModelalso attached to NavDestination Scope
Backstack alteration
This feature is useful for Deeplink navigation, due to you need to create screen’s backstack in a specific order.
To use it simply call nestedNavController.editBackStack { } block and put screens in the necessary order.
Note 1: During alteration you can also put some data into screens
Note 2: In sample below we don’t pass
startDestinationintorememberNavController🌚
val BackStackAlterationRoot by navDestination<Unit> {
    Column {
        val nestedNavController = rememberNavController(
            key = "BackStackAlterationNavController",
            destinations = arrayOf(
                Screen1,
                Screen2,
                Screen3,
                Screen4,
                Screen5
            )
        )
        Row {
            TextButton("Remove first") {
                if (nestedNavController.getBackStack().isNotEmpty())
                    nestedNavController.editBackStack {
                        removeAt(0)
                    }
                backstackKey = Unit
            }
            TextButton("Add at index 0") {
                nestedNavController.editBackStack {
                    if (nestedNavController.getBackStack().isNotEmpty()) {
                        add(0, ScreenAt0)
                    } else add(ScreenAt0)
                }
                backstackKey = Unit
            }
            TextButton("Add last") {
                nestedNavController.editBackStack {
                    add(ScreenLast)
                }
                backstackKey = Unit
            }
            TextButton("Make 1-2-3-4") {
                nestedNavController.editBackStack {
                    clear()
                    add(Screen1)
                    add(Screen2)
                    add(Screen3)
                    add(Screen4)
                }
                backstackKey = Unit
            }
        }
    }
}
Need more cases?
Other more advanced cases may be found in the repository. What is not covered in this post, but available in the sample app:
- NestedNavigation
- BottomBar navigation
- Custom screen transitions
Source code: https://github.com/ComposeGears/Tiamat/
Don’t forget to try it out and raise your feedback ❤️

